Brushing, Flossing, & Home Care
Brushing
When you have braces, it is more important than ever to brush and floss regularly. Food and bacteria collect around bands, brackets, and wires, and can cause stains and cavities, not to mention unpleasant odors — so be sure to do your part in keeping your teeth clean!
To help keep your teeth and gums healthy, we also recommend that you see your regular dentist for a professional cleaning every 3 months. Patients who do not keep their teeth clean on their own may require more frequent visits.
Adult patients who have a history of gum disease may also need to see a periodontist during orthodontic treatment. Please be aware that your dental insurance may not cover the cost of cleaning appointments at 3-month (or more frequent) intervals; however, the benefits are well worth the extra investment.
You should brush your teeth at least 3 times a day (after breakfast, after lunch, or immediately when you arrive home at the end of the day, and before bedtime). In addition, we recommend a daily fluoride rinse (Phos-Flur®) to minimize the chance of cavities or decalcification (permanent white spots on the teeth in areas where plaque is not removed). Other aids, such as an electric toothbrush (Sonicare®), Waterpik®, and small interdental (or proxa-) brushes should also be considered. Proxabrushes are used to clean difficult-to-reach areas around your wires, brackets, and bands. They are especially helpful in removing food and plaque along the sides of the braces.
Brushing teeth while in braces requires more time and diligence than brushing without braces. Be prepared to spend at least two minutes each time you brush. Be sure to brush on the top and bottom of, as well as in between, brackets; along gum lines on both the front and back of each tooth; and on the chewing surfaces. Also, don’t forget to brush your tongue!
Flossing
When you have braces, you should floss once a day. Flossing with braces is easier with the help of a floss threader or SuperFloss®. Start by threading the floss under the archwire. Using a small section of floss, wrap one end around your left and the other end around your right index finger, and gently slide the floss between two teeth toward your gums. Wrap the floss tightly around the tooth on the left side and move the floss up and down several times, making sure that the floss reaches the gumline. Wrap the floss around the tooth on the right side and do the same. Repeat these steps at all contact points between your teeth. You may also consider using a “Platypus” orthodontic flosser.
If you are not cleaning your teeth properly, you may notice one or more of the following
- Redness along the gum line
- Swollen and puffy gums
- Bleeding when brushing and flossing
- Plaque (food and bacteria) around your brackets and near your gum line
By following these instructions for proper brushing and flossing, you are doing your part to keep your teeth and gums clean and healthy.
Eating With Braces
For the first two to five days, your teeth may be sore, so stick to soft foods. Before long, you will be able to return to eating many of your favorite foods!
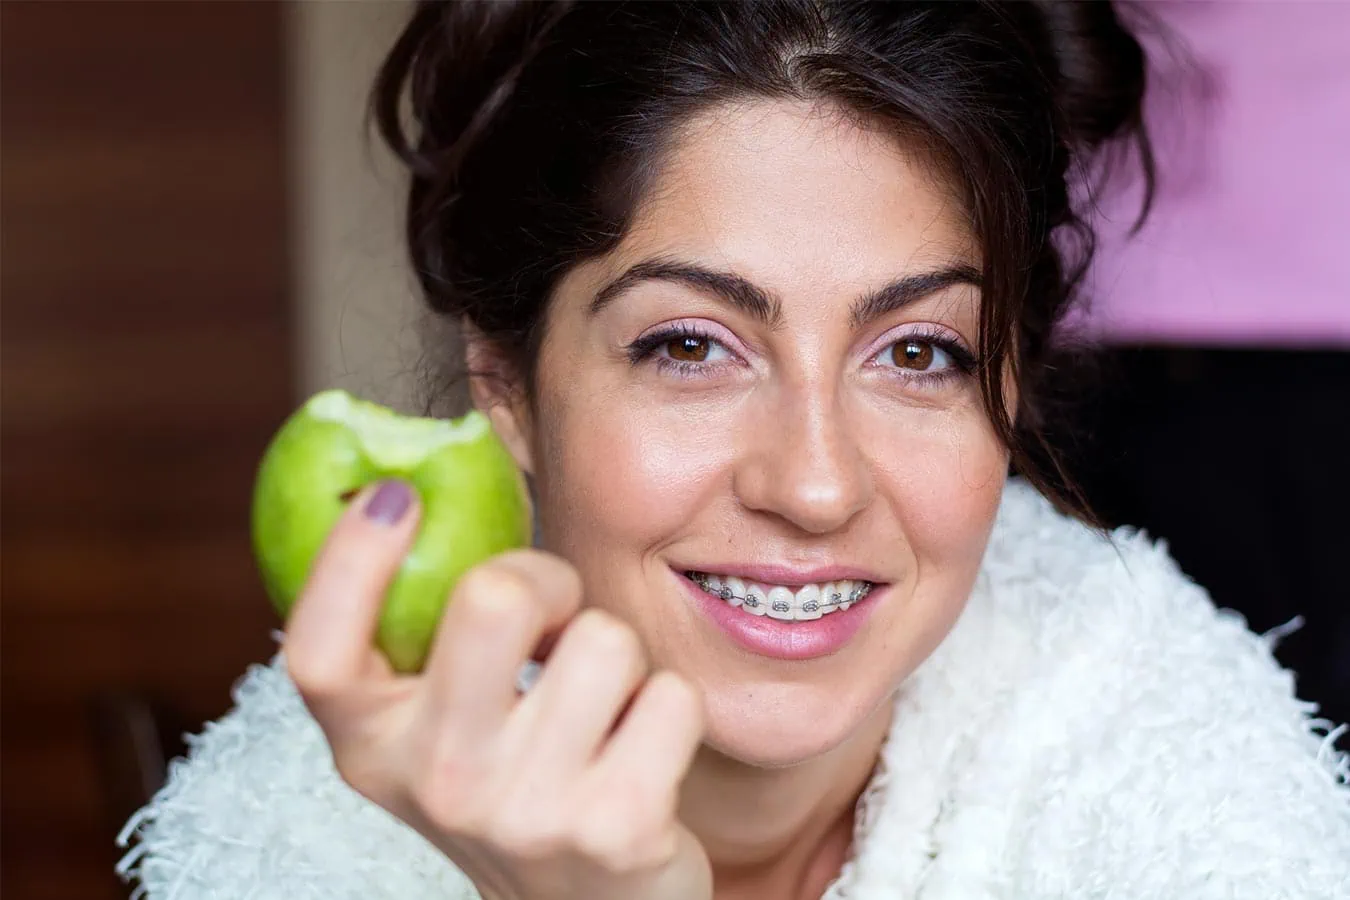
There are some, however, that you will need to avoid to protect your braces. Foods that are hard, sticky, or sugary are harmful to your braces and to your teeth. If you are careful about the type of food you choose and the way you eat your food, your teeth, gums, and bones will stay healthy throughout your treatment, and your orthodontic appliances will remain in good working condition.
Foods to avoid can include:
- Suckers, Jolly Ranchers, and other hard candy
- Caramels, Skittles, Starbursts, jelly beans, and other sticky candy
- Raw carrots, apples, and celery that are not cut into small pieces
- Hard rolls, bagels, and pizza crusts
- Ribs or other meat on the bone
- Beef jerky, Slim Jims, and other chewy or tough meat
- Corn on the cob
- Nuts and popcorn
- Pretzels, Doritos, Cheetos, and other hard chips
- Soda (regular or diet)
Also, please do not chew on ice, fingernails, pens, or pencils. Remember that loose, bent, or broken appliances delay your treatment, and your time in braces will be longer.

Playing Sports
We recommend a protective mouthguard when you play contact sports. Be sure to avoid mouthguards that custom-form to your teeth because these will resist any tooth movements we are trying to achieve.
In case of any accident involving the face, check your mouth and the appliances immediately. If teeth are loosened or the appliances are damaged, call at once for an emergency appointment. Please refer to our Emergency Care section for detailed instructions.
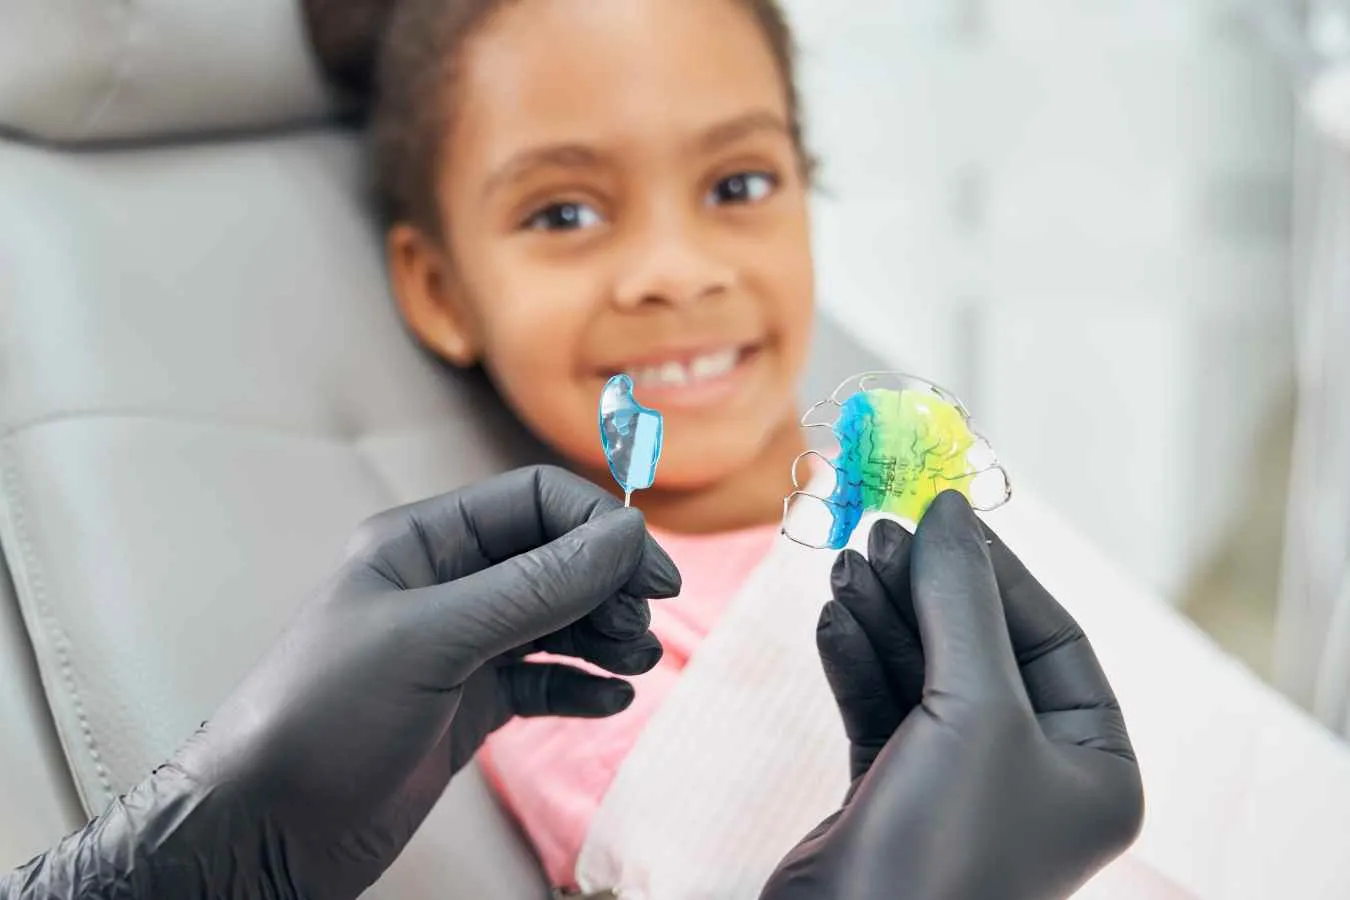
Retainers
Congratulations on reaching a pivotal milestone in your orthodontic journey! Whether you’ve recently completed your treatment with braces or Invisalign, or you’re exploring ways to maintain the beautiful results you’ve achieved, retainers are an essential component of post-orthodontic care. At North Coast Orthodontics, we are dedicated to ensuring that your smile remains straight, healthy, and vibrant for years to come.
Retainers are custom-made devices designed to hold teeth in their new positions after orthodontic treatment. Given that teeth can shift over time, retainers play a crucial role in preserving the alignment and preventing regression. Here, we aim to provide you with comprehensive information on the different types of retainers available, their importance, care instructions, and answers to frequently asked questions.
Understanding the significance of retainers and how to care for them can make all the difference in maintaining your orthodontic results.
Types of retainers
- Invisible Retainers — The removable retainers we typically use in our office are clear (invisible) retainers. These retainers completely cover the teeth and prevent tooth movements in any direction. They are also beneficial for people who grind their teeth. We would much rather you wear through your retainers than the enamel surfaces of your teeth!
- Hawley Retainers — Hawley retainers consist of a wire that extends across the front teeth and acrylic that, in the case of the upper arch, covers the roof of the mouth. These retainers can allow vertical eruption of teeth after braces are removed or, in children, can be adjusted to allow the emergence of permanent teeth.
- Fixed (“Permanent”) Retainers — Occasionally, we use retainers that consist of a metal wire bonded to the inside of the front teeth to keep spaces closed and teeth aligned. These retainers require meticulous oral hygiene because they tend to accumulate plaque and calculus. When viewed from the front, these retainers are not visible at all.
- Positioner — Occasionally, a positioner is used after the braces are removed. A positioner is a synthetic rubber appliance that, when used properly, can complete final minor tooth movements in your orthodontic treatment. Patient cooperation is critical for success with a positioner. This involves diligent wearing of the appliance and performing jaw exercises as instructed.
- Spring Aligner — Spring aligners are not actually retainers because they are not meant to hold the teeth in their current position. A spring aligner is used on the upper or lower teeth in instances of very mild crowding or relapse. The laboratory sections the teeth out of your plaster model and places them in perfect alignment. The spring aligner is then made to this ideal alignment. When the spring aligner is worn, it pushes the teeth to this ideal position. For optimal success, the “retainer” must be worn full-time.
Retainer Instructions
- Wear your retainer at all times, until the doctor instructs otherwise.
- Take your retainer out when eating, and always put it back in its case! (Most appliances are lost in school lunchrooms or restaurants.)
- Clean the retainer thoroughly once a day with a toothbrush and toothpaste. Use warm but not hot water. Brushing retainers removes the plaque, and eliminates odors. Efferdent® or other orthodontic appliance cleaners can be used but do not take the place of brushing.
- When your retainer is not in your mouth, it should ALWAYS be in its case. Pets love to chew on them and they are easy to misplace!
- Initially, you may find it feels different when speaking. Practice speaking, reading, or singing out loud to get used to it faster.
- Retainers are breakable, so treat yours with care. If your retainer gets lost or broken, call us immediately.
- If you have any questions or concerns about your retainer, or you believe it needs adjusting, call us. Do not try to adjust it yourself.
- Always bring your retainer to your appointments.
- Retainer replacements are expensive, but with proper care, they will last for years!
- Remove your retainer when you go swimming.
- Keep retainers away from hot water, hot car dashboards, pockets, the washing machine, and napkins.
Troubleshooting Your Expander
How Do I Turn the Expander?
There should be one hole visible, towards the front of the mouth. Carefully insert the key into the hole and gently wiggle the key to ensure that it is fully seated.
While keeping the key securely in the hole, push toward the back of the mouth (in the direction of the arrow on the expander), until the next keyhole is visible at the front of the mouth. Remove the key by wiggling it down toward your tongue, and be careful not to “unturn” the screw. Gently remove the key from the mouth.
I Can’t Find the Hole at the Front of the Expander
It is likely that the previous activation was not complete or the screw has been unturned.
To correct this, insert the key into the hole facing the back of the expander and continue the activation until the next hole is completely visible at the front of the mouth. To ensure that you stay on schedule, you should then perform another complete activation.
The Expander Seems to be Loose on One Side
If you think the expander may be loose, stop activating it. Please call the office immediately and schedule an appointment to have it checked and re-cemented if needed. Keep the area clean until we can examine it.